" the quieter you become, the more you are able to hear "
 | Why use a Virtual Machine?When you're just getting started with messing around with Kali Linux, it's a good idea to start on a virtual machine to see if you like it before you dive into reformatting your hard drive. To do this, I have chosen VMware Workstation because it has good integration with your host OS and also has a fairly easy set up. These steps will also work for lower versions of VMware Workstation. |
Step 1 - Preparation
In order to create your Kali Linux virtual machine, you will need two things:
Your host operating system is the operating system that is running on your computer - in this case Windows. The guest operating system is the OS that you are running as a virtual machine, acting as a "guest" to the "host".
Next, download and install your version of VMware Workstation. When installing, select the typical installation. We will change the virtual machine settings later on.
- Your Kali Linux ISO file
- A working installation of VMware Workstation
Your host operating system is the operating system that is running on your computer - in this case Windows. The guest operating system is the OS that you are running as a virtual machine, acting as a "guest" to the "host".
Next, download and install your version of VMware Workstation. When installing, select the typical installation. We will change the virtual machine settings later on.

Continue through the installation and launch VMware Workstation when you're finished.
Step 2 - Configuring the Virtual Machine

- Click the "Create a New Virtual Machine" button.
- Select the "Typical" configuration and click next.
- Select to install from an ISO file and browse to select the file that you downloaded in step 1.
- Name your virtual machine "Kali Linux".
- Enter the maximum disk size as 30 GB and select "Store virtual disk as a single file".
 |  |
On the finalisation page, click the "Customize Hardware" button. This is where we will change the settings for the virtual machine like allocated RAM and network configuration.
Click on the "Memory" tab on the list on the left side and adjust the slider on the right to change your RAM allocation for your virtual machine. As a general rule, you shouldn't set this as any more than half of your total RAM. My laptop has 4 GB of RAM so I am setting it at 2 GB. If you have 8 GB, you should set a maximum of 4 GB. The more RAM you have allocated to your virtual machine, the faster it will run, but if you allocate more than half of your total, you risk memory swapping - where there is not enough room left for your host OS so the data from your virtual machine is "swapped" onto your hard drive, drastically slowing down both your host and guest operating systems.
Click on the "Memory" tab on the list on the left side and adjust the slider on the right to change your RAM allocation for your virtual machine. As a general rule, you shouldn't set this as any more than half of your total RAM. My laptop has 4 GB of RAM so I am setting it at 2 GB. If you have 8 GB, you should set a maximum of 4 GB. The more RAM you have allocated to your virtual machine, the faster it will run, but if you allocate more than half of your total, you risk memory swapping - where there is not enough room left for your host OS so the data from your virtual machine is "swapped" onto your hard drive, drastically slowing down both your host and guest operating systems.

Leave the Processors and CD/DVD settings as they are.
Select the Network Adapter section and choose the "Bridged" connection
Select the Network Adapter section and choose the "Bridged" connection

Bridged networking connects a virtual machine to a network using the host computer's network adapter. On a Windows host, you can use bridged networking to connect to either a wired or a wireless network. On a Linux host, you can use bridged networking to connect to a wired network. When using a bridged network, the virtual machine is assigned a new IP address on the network as though it was another real computer, which is exactly what we want if we are going to be attacking our host computer when we start hacking in a later tutorial. The diagram below might help you to understand how bridged networking operates.

You can leave all the rest of the settings and just press close and then finish. But we still have one small thing to do.
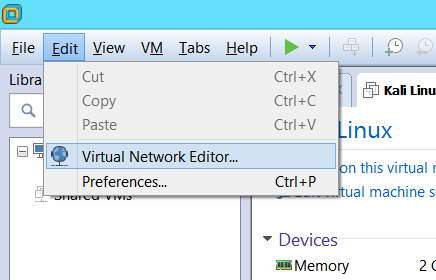
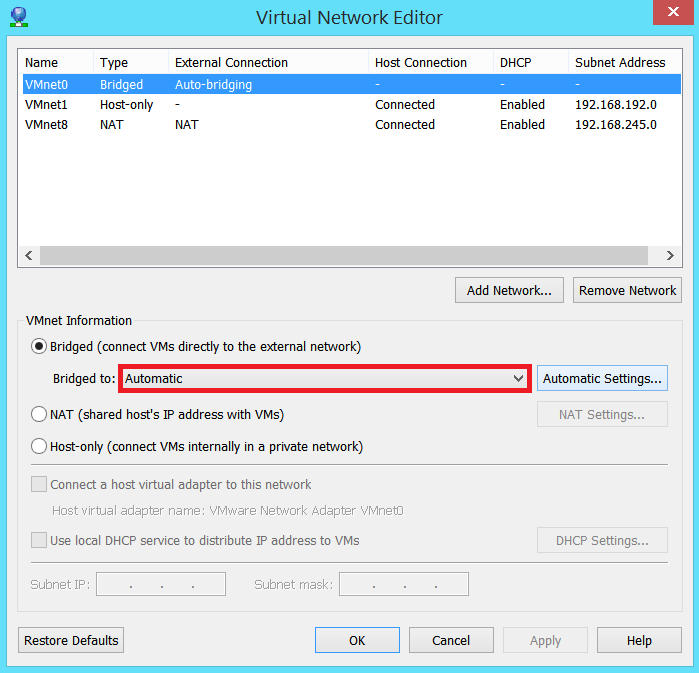
Go to Edit > Virtual Network Editor and click on the drop down box that says "Automatic" and select the network adapter that you are using, for example, I have selected my Intel Dual Band Wireless-N 7260 adapter. This stops VMware from accidentally listening on the wrong network adapter. After that press ok and you're ready to start the virtual machine!
Go to Edit > Virtual Network Editor and click on the drop down box that says "Automatic" and select the network adapter that you are using, for example, I have selected my Intel Dual Band Wireless-N 7260 adapter. This stops VMware from accidentally listening on the wrong network adapter. After that press ok and you're ready to start the virtual machine!
 |  |
Step 4 - Installing Kali
Once you have the virtual machine configuration finished, you will need to install it onto VMware.
Start by powering on your Kali Linux virtual machine.
Start by powering on your Kali Linux virtual machine.

Select the Graphical Install option.

Chose your language.

Select your location.

Select your keyboard configuration.

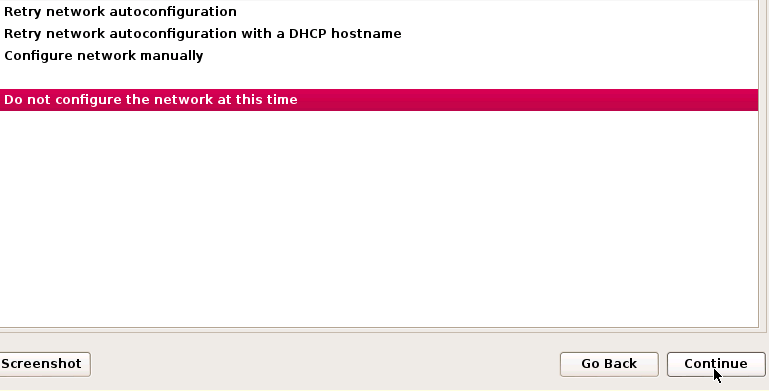
At this stage, if you get this message:

Just click continue and then click "Do not configure the network at this time"
Enter the hostname for your Kali system. This doesn't really matter for what we are doing, so I have just left it as Kali.

The same applies for the domain name.

Enter your password that you will be using for the operating system. It is important that you remember this as Kali has no "Forgot your password?" option.

Enter your state in order to configure the clock to your time zone.

Select "Guided - use entire disk" for the disk partitioning. This will mean that the whole 30 GB that we allocated earlier will be partitioned.

Select the drive that you will be partitioning. In this case that's the 30 GB virtual drive that we created earlier.

Select "All files in one partition". This will mean that all our files for the operating system will be placed in one partition on the virtual drive.

Make sure that your overview looks the same as below, and press continue.

After one last confirmation you're good to go.

And the installation will start!

After the installation is complete, Kali will ask if you want to create a network mirror. Select no.

Next it will ask you if you want to install the GRUB boot loader. GRUB stands for GRand Unified Bootloader. This is what loads the operating system, so we will select yes.

After pressing continue on this step, the virtual machine will be booted into the Kali OS.

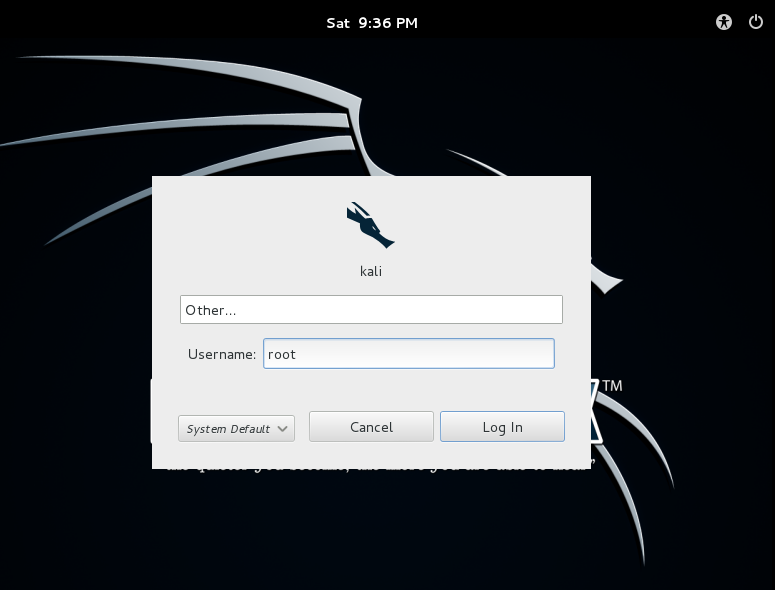
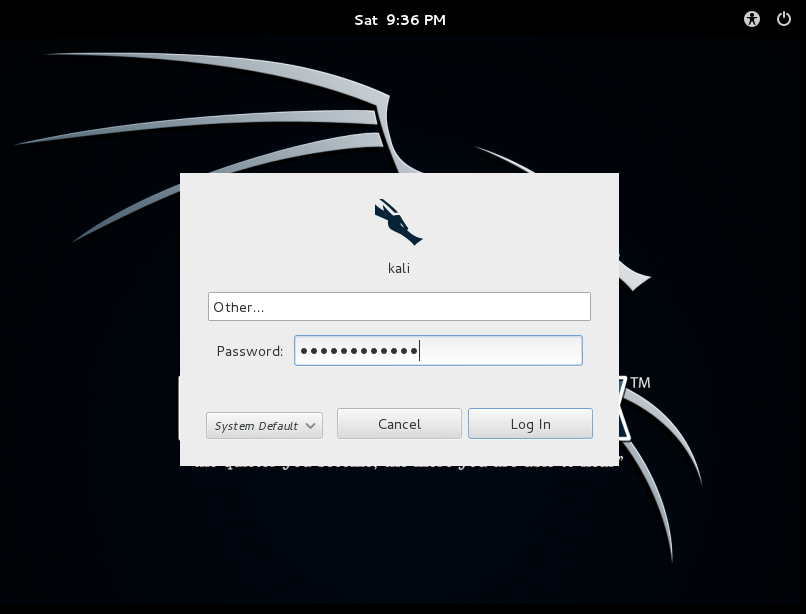
There it is! This is the Kali Linux login screen. Press enter to continue.

Next, enter your login credentials. Enter the username as "root" and the password as what you set earlier.
 |  |
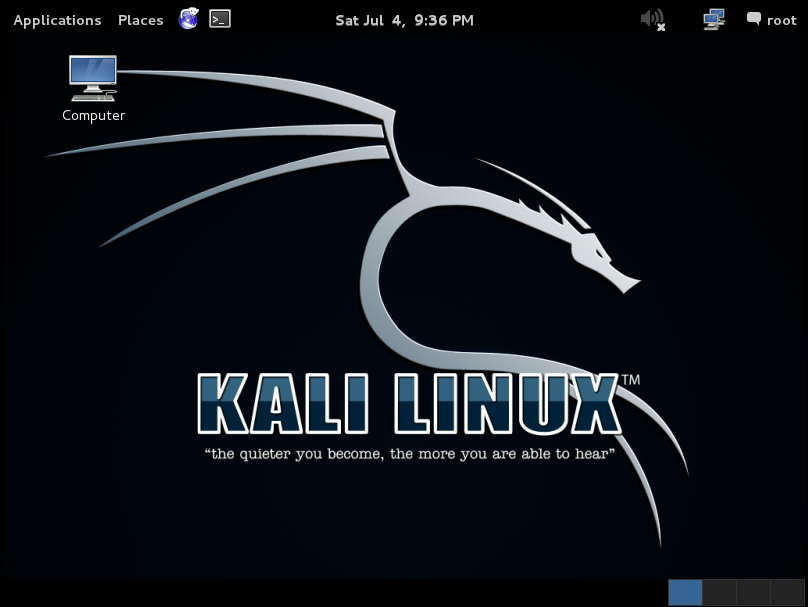
Congratulations! You have successfully set up and installed Kali Linux on VMware. You should see a home screen similar to this:
Now that you have installed Kali Linux, I strongly recommend installing VMware Tools to get the most out of your virtual machine. My guide on how to install VMware Tools can be found here.
I hope you enjoyed this tutorial. If you have any problems with any of the steps above, leave a comment and I will get back to you as soon as possible.
I hope you enjoyed this tutorial. If you have any problems with any of the steps above, leave a comment and I will get back to you as soon as possible.
 RSS Feed
